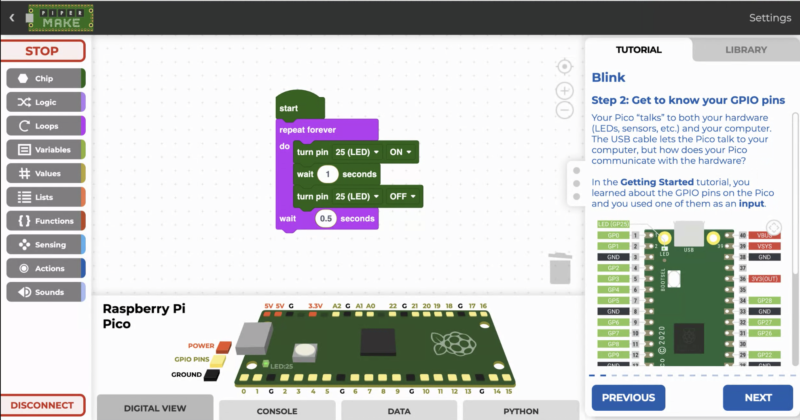
Piper Make is a drag-and-drop coding application for the Raspberry Pi Pico that is free to use.
Piper, Inc., an Edtech, unveiled this entirely new browser-based coding platform on #PiDay. If you already own a Raspberry Pi Pico, go to make.playpiper.com to try out the coding app for free.Pico will help you complete coding challenges.
The block coding world encourages you to take on a variety of challenges. When you successfully blink an LED, the next challenge becomes available to you. Every month, new tasks are announced, and it's a perfect way to direct your learning while still giving you a feeling of accomplishment when you complete each mission.
 |
| Image credit: raspberrypi.org |
Things You'll Need for Pico Drag n Drop Coding
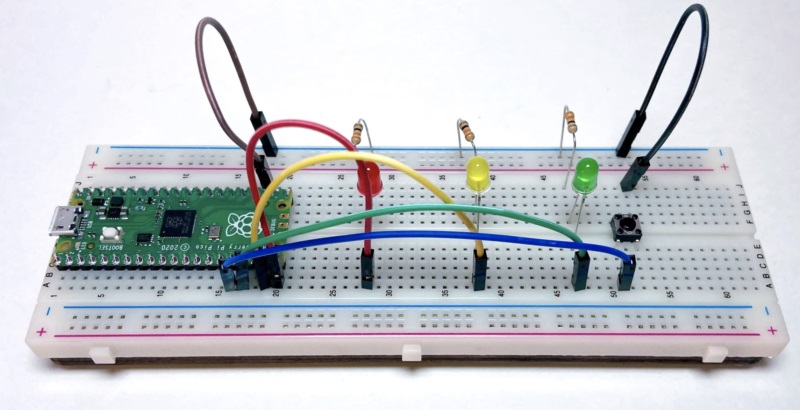
To complete these challenges, you'll need some equipment. The components you'll need are simple to get, and they're likely to be items you already have lying around if you like tinkering, but if you're new to coding and don't have a garage full of trinkets, Piper makes it simple. Join their Makers Club to get a one-time Starter Kit that includes a Raspberry Pi Pico, LEDs, resistors, switches, and cables.
If you join Piper's Monthly Makers Club, you'll get the Starter Kit as well as new hardware every month to help you complete the current challenge. Every Raspberry Pi Pico board comes pre-loaded with Piper Make firmware, allowing you to plug and play.
You don't need to sign up if you already have stuff like a breadboard, LEDs, and so on. Dive right in to begin working on the problems.
I have a Raspberry Pi Pico device. How can I proceed?
Before we begin, keep in mind that when you first arrive at the Piper Make landing page, do not press the ‘Getting Started' button. First and foremost, you must configure your Pico, so scroll down and click ‘Configure my Pico.' You're ready to go after you've completed the step.
Project Credit & Author: Ashley Whittaker
Also Check:
- Easiest Way to to Run DC Motor with Raspberry Pi Pico
- How to Install Wi-Fi and Internet on a Raspberry Pi Pico
- Pico Projects For Beginners - Raspberry Pi
- How to connect a Raspberry Pi Pico to LoRaWAN
- Best Raspberry Pi Pico Breakout And Pico HAT
- How to use I2C Pins in Raspberry Pi Pico | I2C Scanner Code
- Raspberry Pi Pico Launched Globally With Pico Add-On & Pico Expansions.
- Raspberry Pi Pico 2 Channel Expander | GPIO Expander For Pico


